
The Drone DIY Ecosystem: A Complete Practical Guide (2026)
Definition: What Is the Drone DIY Ecosystem? The drone DIY ecosystem is the decentralized network of interchangeable hardware, open-source firmware, ground-control software, communication protocols, component suppliers, online communities, documentation, and service providers that allows builders to…
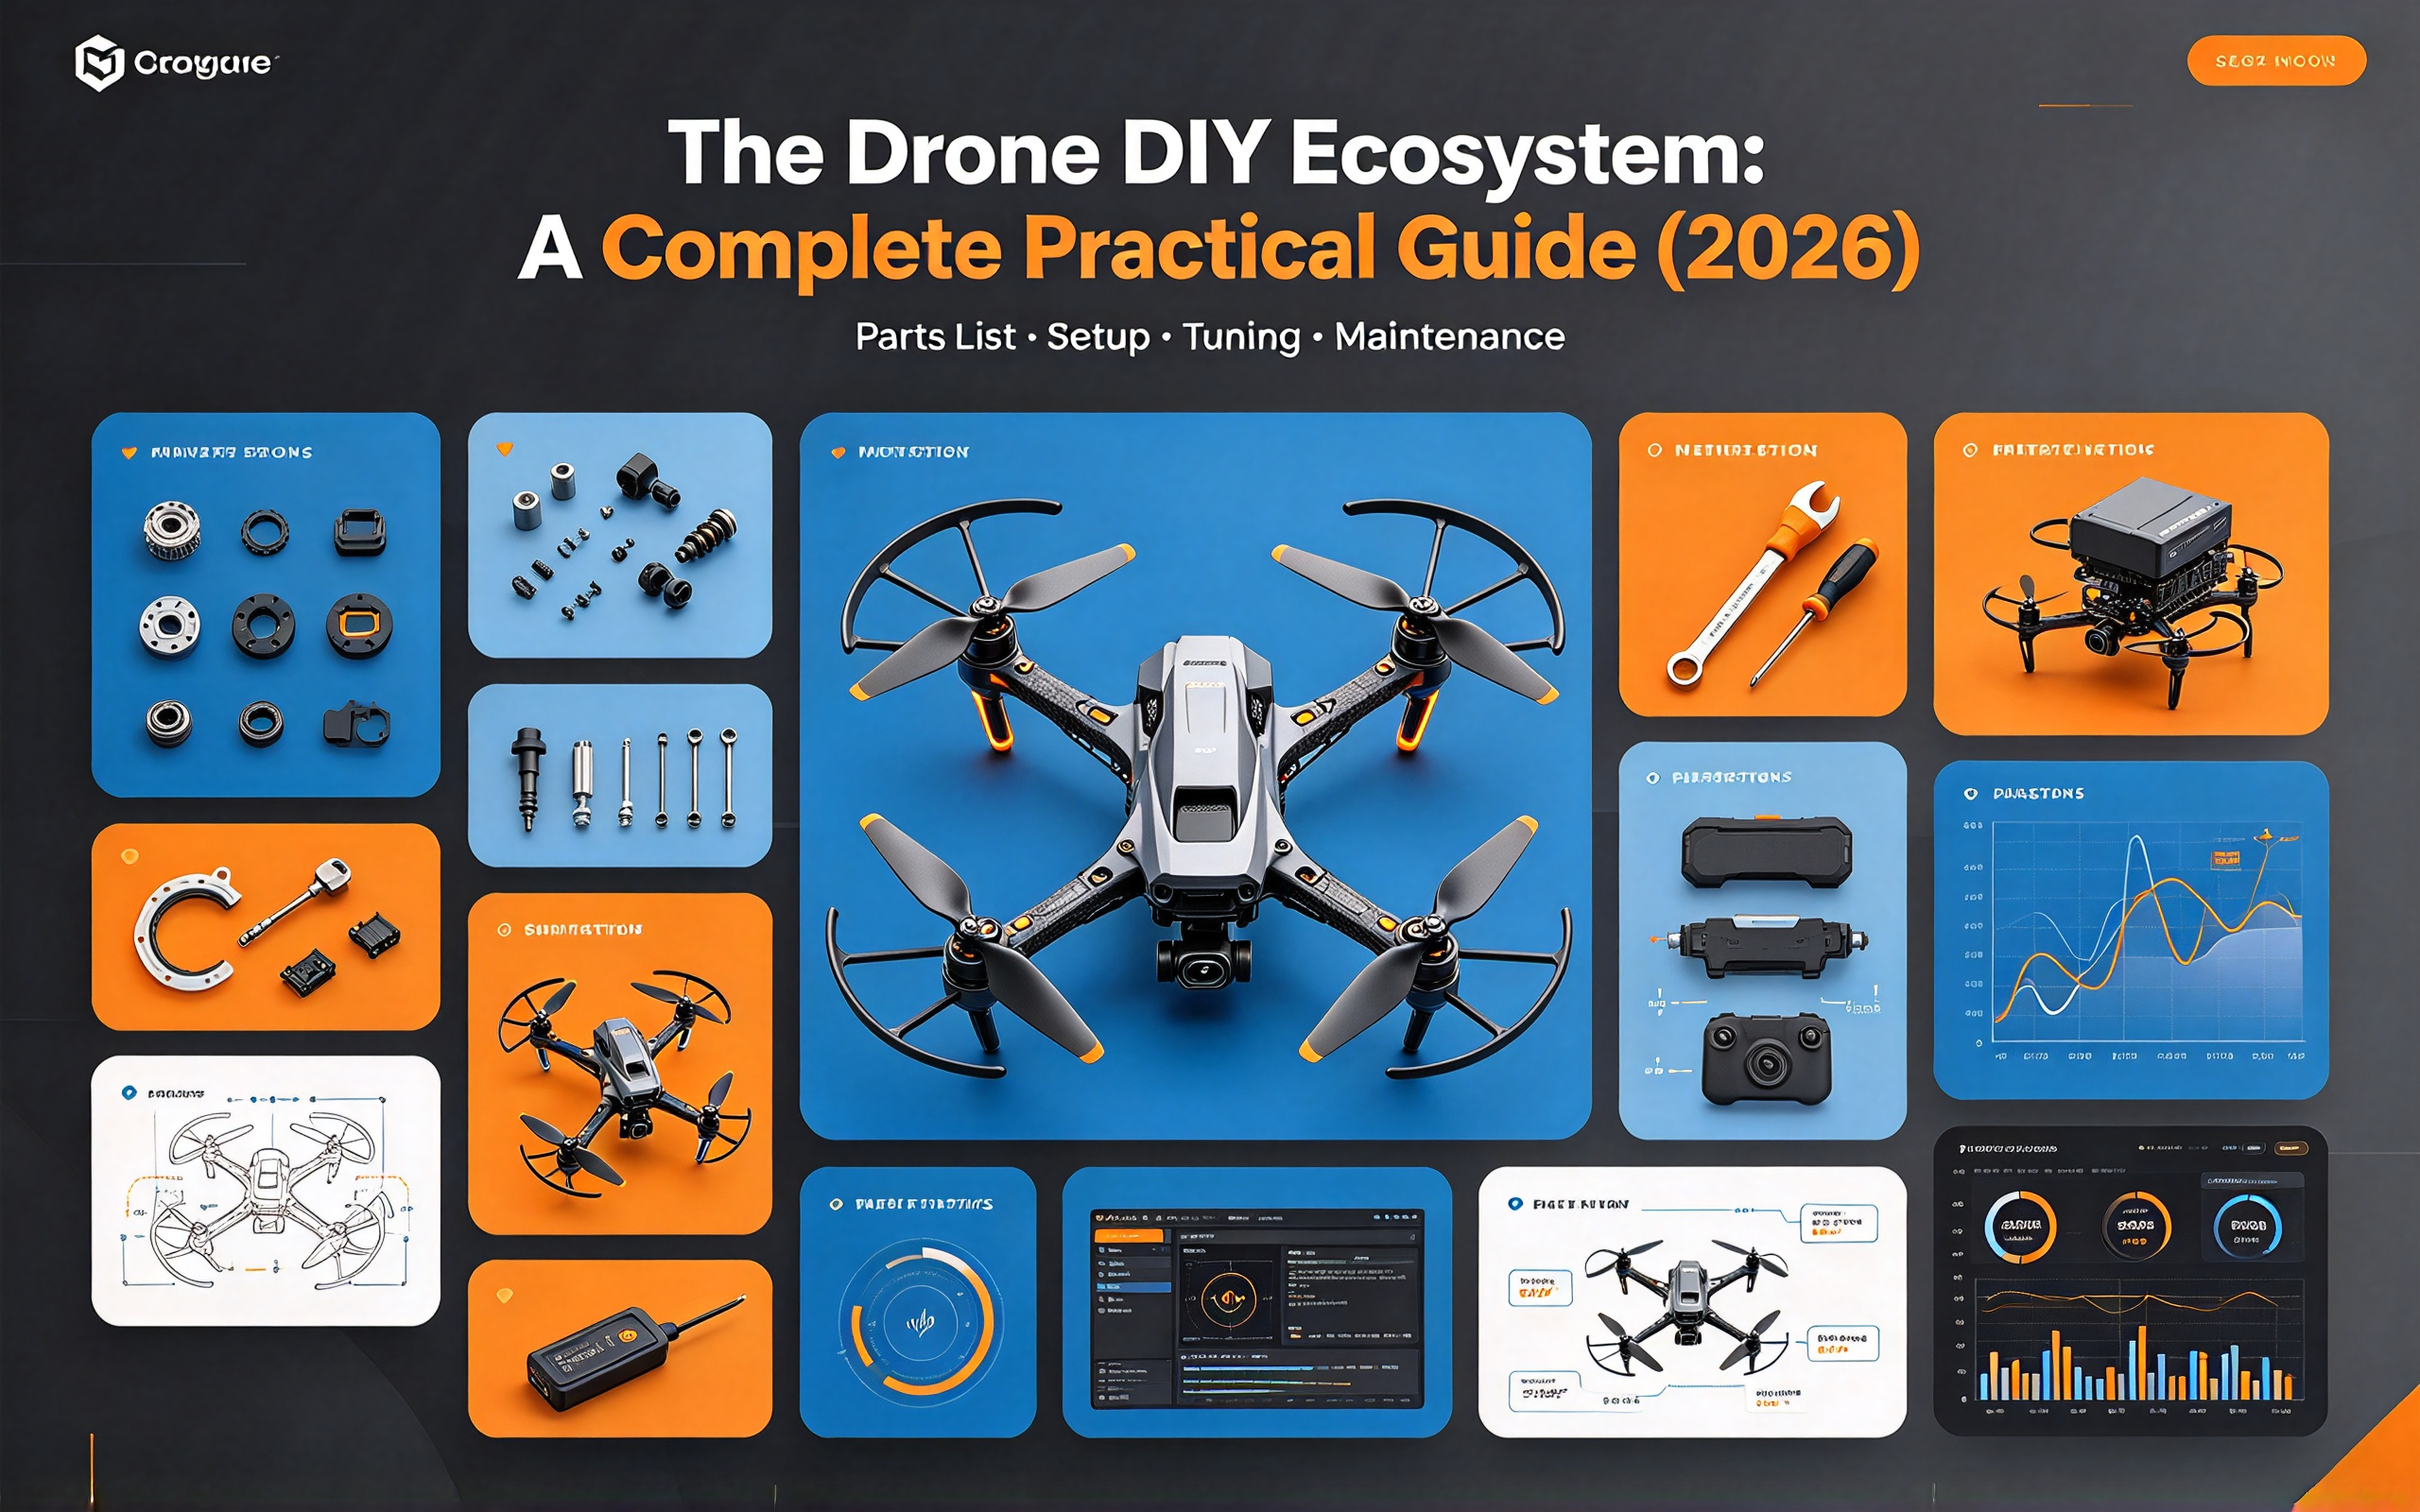
Definition: What Is the Drone DIY Ecosystem?
The drone DIY ecosystem is the decentralized network of interchangeable hardware, open-source firmware, ground-control software, communication protocols, component suppliers, online communities, documentation, and service providers that allows builders to design, assemble, configure, repair, modify, and upgrade unmanned aircraft instead of buying a fully locked, factory-sealed product.
It is not only a market for spare parts. It is a complete build-and-maintain system covering:
- Frames, motors, ESCs, propellers, and batteries
- Flight controllers, GPS modules, receivers, and telemetry radios
- FPV cameras, video transmitters, antennas, and goggles
- Flight firmware such as Betaflight, INAV, PX4, and ArduPilot
- Ground-control software such as QGroundControl and Mission Planner
- Open radio systems such as ExpressLRS and EdgeTX
- Online tutorials, build logs, simulator training, and community troubleshooting
- Vendors, integrators, repair technicians, and custom-payload builders
A useful distinction is that DIY, open source, and open ecosystem are related but not identical:
- DIY means the user assembles or integrates the aircraft.
- Open source means the source code or hardware design is publicly available for inspection and modification.
- Open ecosystem means parts from different manufacturers can be mixed because they follow common mechanical, electrical, or software standards.
- A drone can be DIY without being fully open source, and a factory-built drone can still use an open ecosystem.
Why the DIY Ecosystem Exists
The ecosystem developed because drone hardware became modular, flight controllers became standardized, and open-source autopilot projects matured. Instead of buying one vendor’s complete aircraft, builders can choose components based on price, performance, availability, and mission requirements.
The main drivers are:
- Lower entry cost for specific performance levels A builder can choose a modest frame while spending more on motors, video, or flight controller.
- Repairability Broken arms, motors, ESCs, cameras, or VTX units can be replaced individually.
- Customization Builders can tune airframe size, payload, radio link, battery chemistry, and firmware for racing, long-range flight, mapping, cargo, or research.
- No single-vendor lock-in Common mounting patterns, MAVLink, DroneCAN, Pixhawk, ELRS, and other standards reduce dependence on one brand.
- Learning and transparency Users can inspect logs, tune PID filters, modify parameters, and understand failure causes.
- Rapid innovation New motors, receivers, VTX systems, sensors, and firmware features can be adopted without waiting for a complete drone product cycle.
The market is large enough to support a deep component economy. Industry Research Co estimated the global FPV drone market at USD 623.5 million in 2026, growing to USD 2,061.4 million by 2035 at a 14.2% CAGR (Industry Research Co., published 2026-09-07; verified 2026-10-15).
The Three Main Branches of the Drone DIY Ecosystem
A. FPV racing, freestyle, and cinematic ecosystem
This is the most visible DIY branch. It centers on lightweight multirotors, 5.8 GHz video, FPV goggles, manual/acro flight, and rapid repair.
Typical use cases include:
- Drone racing
- Freestyle acrobatics
- Indoor cinewhoop flights
- Real-estate and cinematic fly-throughs
- Close-proximity filming
- Small-scale experimental payload work
Common hardware includes:
- 2.5–3.5 inch cinewhoops
- 5-inch freestyle and racing quads
- 7–10 inch long-range FPV airframes
- Analog or digital FPV cameras and VTX units
- ELRS or Crossfire receivers
- Betaflight-compatible flight controllers
B. GPS navigation and open-autopilot ecosystem
This branch focuses on autonomous flight, mapping, waypoint missions, fixed-wing aircraft, rovers, boats, and custom robotics. It is built around PX4, ArduPilot, INAV, Pixhawk-compatible hardware, MAVLink, and ground-control software.
Typical users include:
- Researchers and universities
- Mapping and surveying teams
- Fixed-wing builders
- Rover and marine robotics developers
- Custom logistics and inspection integrators
- Engineers who need mission planning rather than acrobatic FPV
C. Industrial and heavy-lift maker ecosystem
This segment overlaps with the other two but prioritizes payload, reliability, environmental resistance, and repeatability. Builders may use larger multirotors, PX4 or ArduPilot autopilots, industrial batteries, redundant power systems, thermal cameras, LiDAR, cargo release mechanisms, or custom sensors.
It is often used for:
- Heavy-lift experiments
- Cargo-drone prototypes
- Infrastructure inspection
- Agricultural sensing
- Border and perimeter security testing
- Custom sensor integration
This branch requires stronger engineering discipline than hobby FPV. A successful prototype is not automatically a certified commercial aircraft.
Hardware Layers: What Makes Up a DIY Drone?
| Layer | Main components | What to verify |
|---|---|---|
| Airframe | Carbon-fiber frame, arms, ducts, landing gear, camera plates | Size, weight, motor mounting, vibration isolation, spare-arm availability |
| Propulsion | Brushless motors, propellers, ESCs | Motor KV, voltage, ESC current rating, thrust, propeller compatibility |
| Avionics | Flight controller, IMU, barometer, GPS, compass, receiver | Firmware target, sensor support, UART/I2C/CAN ports, mounting pattern |
| FPV video | Camera, VTX, antenna, goggles or monitor | Analog or digital, frequency, latency, resolution, channel compatibility |
| Power | LiPo or Li-ion pack, power module, BEC, charger | Cell count, discharge rate, connector, balance charging, cycle life |
| Control | Radio transmitter, receiver, control protocol | Range, latency, telemetry, bind procedure, regional frequency rules |
| Navigation | GPS, compass, rangefinder, telemetry radio | GNSS constellation, EMI shielding, return-to-home, waypoint support |
| Payload | Action camera, thermal camera, LiDAR, mapping camera, cargo hook | Mounting, weight, power draw, vibration damping, mission value |
| Ground system | Goggles, radio, ground station, tablet, mission planner | Interoperability, display visibility, logging, operator workload |
Common mechanical standards
Mechanical compatibility is one reason the DIY ecosystem works. Many 5-inch and 7-inch FPV stacks use a 30.5 × 30.5 mm mounting pattern with M4 holes, while smaller builds may use 20 × 20 mm M3 mounting; one example stack documents dual support for both patterns across typical 5-inch and 7-inch frames (The FPV Project, updated 2026-09-16; verified 2026-10-15).
These standards let builders swap flight controllers, ESCs, and frames without redesigning the entire aircraft.
Firmware and Software Layers
| Software/firmware | Primary role | Typical aircraft |
|---|---|---|
| Betaflight | High-performance FPV flight control, OSD, filtering, failsafe, Blackbox logging | Racing, freestyle, cinewhoop, small FPV multirotors |
| EmuFlight | FPV flight control with alternative filtering and tuning approach | Acrobatic and experimental FPV builds |
| INAV | GPS navigation, return-to-home, waypoints, and fixed-wing support | Long-range FPV, fixed-wing, budget navigation builds |
| PX4 | Vendor-neutral, BSD-3-licensed open-source autopilot with Pixhawk and DroneCAN support | Professional mapping, inspection, VTOL, research, autonomous systems |
| ArduPilot | Multi-vehicle open-source autopilot supporting multicopters, helicopters, fixed-wing aircraft, boats, submarines, and rovers | Broad robotics, autonomous vehicles, custom industrial projects |
| EdgeTX/OpenTX | Radio transmitter firmware | Open and configurable hand controllers |
| ExpressLRS | Open radio-control link operating on 900 MHz and 2.4 GHz | Long-range and low-latency FPV control |
| QGroundControl / Mission Planner | Mission planning, parameter configuration, calibration, and telemetry | PX4 and ArduPilot vehicles |
PX4’s official documentation describes the project as an open-source, vendor-neutral autopilot with support for Pixhawk-standard boards and no vendor lock-in (PX4 official documentation, last updated 2026-09-22; verified 2026-10-15). ArduPilot’s official site describes it as a trusted open-source autopilot supporting multicopters, traditional helicopters, fixed-wing aircraft, boats, submarines, rovers, and other vehicle types (ArduPilot official documentation, updated 2026-10-14; verified 2026-10-15).
Key Numbers: Cost, Performance, and Training
The following figures give a realistic view of the 2026 DIY ecosystem.
Entry and build costs
- Analog RTF kits commonly cost USD 120–250 (ElectronicsHub, published 2026-08-29; verified 2026-10-15).
- DIY analog builds commonly cost USD 180–400 (ElectronicsHub, published 2026-08-29; verified 2026-10-15).
- Digital RTF kits commonly cost USD 350–650 (ElectronicsHub, published 2026-08-29; verified 2026-10-15).
- DIY digital stacks commonly cost USD 500–1,100+ before batteries and spares (ElectronicsHub, published 2026-08-29; verified 2026-10-15).
Video and control
- Common 5.8 GHz FPV systems operate in the 5.725–5.850 GHz unlicensed ISM band (ElectronicsHub, published 2026-08-29; verified 2026-10-15).
- Cited analog latency is typically 12–25 ms, while modern digital systems can reach 8–18 ms (ElectronicsHub, published 2026-08-29; verified 2026-10-15).
- Typical VTX power for many FPV builds is 25–200 mW (ElectronicsHub, published 2026-08-29; verified 2026-10-15).
- ExpressLRS states that 2.4 GHz at 100 mW can exceed 40 km in excellent line-of-sight conditions, while emphasizing that direct line of sight is the main range determinant (ExpressLRS official documentation, last updated 2026-09-11; verified 2026-10-15).
- UAVMODEL lists 2.4 GHz at 1 W at 15–30 km, 900 MHz at 100 mW at 8–15 km, and 900 MHz at 1 W at 30–50 km+ under suitable setups (UAVMODEL, published 2026-06-27; verified 2026-10-15).
Airframe and flight time
- Cinewhoops typically use 2.5–3.5 inch propellers, weigh 150–400 g, and fly for 4–7 minutes (UAVMODEL, published 2026-06-11; verified 2026-10-15).
- Standard 5-inch freestyle quads typically weigh 550–750 g, fly for 3–5 minutes in aggressive use, and reach 80–140 km/h (UAVMODEL, published 2026-06-11; verified 2026-10-15).
- Long-range FPV airframes are commonly 7–10 inches, weigh 800–1,500 g, and fly for 15–25 minutes (UAVMODEL, published 2026-06-11; verified 2026-10-15).
- The PX4 X500 v2 development kit is documented as a 500 mm carbon-fiber quadcopter kit with pre-installed motors and ESCs, approximately 30 minutes of solder-free assembly, and the ability to lift a 1.5 kg payload (PX4 developer kit documentation, updated 2026-07-21; verified 2026-10-15).
Training and maintenance
- Pilots with 50+ hours of simulator time before a first real flight reported a 90%+ maiden-pack success rate, while those who skipped the simulator had roughly a 30% success rate (UAVMODEL, published 2026-06-10; verified 2026-10-15).
- A separate FPV training source reports that 10 simulator hours can reduce crash frequency by approximately 70% (FPV Drone Guide, published 2026-10-03; verified 2026-10-15).
- Budget 5-inch freestyle motor bearings may last 40–60 flight hours, while premium motors may reach 120–150 hours (UAVMODEL, published 2026-05-21; verified 2026-10-15).
DIY vs. RTF and Closed Ecosystem Drones
| Dimension | DIY / open ecosystem | RTF or closed ecosystem |
|---|---|---|
| Purchase approach | Components selected and integrated by buyer or builder | Complete drone delivered ready to fly or nearly ready |
| Upfront effort | High; requires research, assembly, configuration, testing | Low; designed for fast deployment |
| Customization | Very high; frame, payload, radio, firmware, and power can be changed | Usually limited to approved accessories |
| Parts choice | Broad third-party market | Often proprietary or manufacturer-approved |
| Repair model | User repairs individual modules | Warranty service or manufacturer replacement |
| Learning value | Deep understanding of power, control, software, and failure modes | Focus on operation rather than engineering |
| Reproducibility | Depends on builder skill and documentation | More consistent across units |
| Warranty | Usually split across component vendors; no single整机 warranty | One warranty covers the complete system |
| Certification | Custom aircraft generally lacks automatic industrial certification | Commercial models may carry CE, FCC, IP, or other certifications |
| Best fit | Hobbyists, researchers, custom payloads, low-volume missions, training | Commercial operators, regulated work, fleets, rapid scale-up |
| Main risk | Component mismatch, assembly errors, tuning time, and support gaps | Vendor lock-in, proprietary parts, and limited modification |
The DIY route is not automatically cheaper once labor is counted. A low parts cost can be erased by debugging time, crashes, incompatible radios, ESC failures, and repeated tuning. For regulated cargo, public-safety, or infrastructure work, a factory-built and certified platform such as an IUAV industrial system may be safer than an uncertified prototype, even when the prototype uses high-quality open components.
Step-by-Step Workflow for Building in the DIY Ecosystem
Step 1: Define the mission before buying parts
Write down:
- Aircraft type: cinewhoop, freestyle, long-range, fixed-wing, heavy-lift, or autonomous
- Required payload weight
- Target flight time and range
- Operating environment: indoor, urban, desert, mountain, coastal, or industrial
- Video requirement: analog, digital, thermal, mapping, or HD recording
- Regulatory constraints: registration, Remote ID, commercial license, BVLOS, visual observer
- Need for GPS, return-to-home, waypoints, or autonomous operation
Step 2: Select the firmware first
The firmware should drive hardware selection:
- Choose Betaflight for acrobatic FPV and racing.
- Choose INAV for GPS-assisted long-range or fixed-wing builds.
- Choose PX4 for professional autonomous missions, vendor-neutral hardware, and research.
- Choose ArduPilot for broad multi-vehicle support or complex custom robotics.
Buying hardware first and discovering that the firmware target is unsupported is a common DIY mistake.
Step 3: Match the power system
The power system must be selected as a set, not as unrelated parts:
- Choose airframe class and propeller size.
- Choose motor stator size and KV for the battery voltage.
- Choose ESCs with sufficient continuous current and burst margin.
- Choose propellers that match motor KV and airframe.
- Choose a battery that can supply the required current without excessive voltage sag.
- Confirm that the frame and flight controller support the voltage and mounting layout.
Step 4: Procure tools and spares
A basic FPV build kit should include:
- Soldering iron and fine solder
- Flux, braid, helping hands, and heat shrink
- Hex drivers, nut drivers, and small pliers
- Multimeter
- Battery voltage checker
- Smoke stopper or current-limiting tester
- Spare propellers, screws, battery straps, and standoffs
- Safety glasses and a fire-resistant LiPo charging bag
Step 5: Assemble the mechanical structure
- Mount motors and route motor wires away from sharp edges.
- Install the FC/ESC stack with vibration dampers where appropriate.
- Use the correct mounting pattern: 30.5 × 30.5 mm on many 5-inch and 7-inch stacks, or 20 × 20 mm on smaller builds (The FPV Project, updated 2026-09-16; verified 2026-10-15).
- Mount the receiver, VTX, camera, and GPS away from high-current wires where possible.
- Confirm center of gravity before final wiring.
Step 6: Solder and verify power
- Solder battery pads, power leads, motors, capacitors, and low-current accessories.
- Check for solder bridges and continuity before connecting a battery.
- Use a smoke stopper or current-limited bench supply for first power-up.
- Confirm polarity and BEC output before plugging in the flight controller.
Step 7: Flash firmware and configure parameters
- Flash the correct board target.
- Calibrate accelerometer, gyroscope, compass, and level as required.
- Configure receiver protocol and arming switches.
- Set VTX channel and power.
- Configure OSD telemetry such as battery voltage, link quality, timer, and altitude.
- Set signal-loss and low-battery failsafe behavior.
- Save and back up the configuration file.
Step 8: Complete ground testing
Before flight:
- Verify motor direction and propeller orientation.
- Test all stick channels.
- Confirm arming and disarming.
- Test failsafe without propellers.
- Check video range and goggle channel.
- Verify GPS lock and return-to-home behavior for navigation builds.
- Inspect every connector for heat after short bench runs.
Step 9: Train and perform the maiden flight
For FPV builds, simulator practice is the lowest-cost insurance. A pilot with 50+ simulator hours is more likely to complete the first real battery without crashing, while a pilot with no simulator practice has roughly a 30% reported success rate (UAVMODEL, published 2026-06-10; verified 2026-10-15).
For the first real flight:
- Choose a large open area.
- Remove loose objects and bystanders.
- Hover low and verify control direction.
- Land before the low-voltage alarm.
- Inspect motors, ESCs, wires, and props after each flight.
Step 10: Log, tune, and maintain
- Review Blackbox or autopilot logs after abnormal flights.
- Track battery cycles and motor hours.
- Replace damaged propellers immediately.
- Service bearings based on real hours rather than calendar time.
- Keep spare parts for the highest-wear components.
- Re-test failsafe after firmware updates or receiver changes.
Most Common DIY Ecosystem Failure Points
- Firmware mismatch: The board is not supported by the selected firmware target.
- Power-system mismatch: Motor KV, propeller, ESC current, and battery voltage are not selected together.
- Solder bridges: Tiny bridges can destroy an ESC or flight controller on first power-up.
- Vibration problems: Poor gyro placement, unbalanced props, or hard-mounted FC boards cause filter and OSD problems.
- Electromagnetic interference: High-current wires, VTX, GPS, compass, and receiver antennas are placed too close together.
- Video and control confusion: The video link and control link are separate systems; a clear picture does not guarantee a safe control signal.
- Overweight builds: Adding cameras, GPS, sensors, and heavier batteries can reduce flight time far below expectations.
- Legal assumptions: Long-range hardware does not automatically authorize beyond-visual-line-of-sight operation.
- Certification gap: A working DIY aircraft may not be legal for commercial inspection, cargo, or security operations.
- Spare-parts fragmentation: Rare or discontinued components can make an otherwise good aircraft difficult to repair.
How to Choose Between DIY, Kit, RTF, and Industrial Platforms
Choose DIY when:
- You need a specialized or experimental aircraft.
- You want to learn the full stack.
- You have soldering, firmware, and troubleshooting capability.
- The mission is low-volume and non-critical.
- Component choice and repairability matter more than immediate deployment.
Choose an open kit or developer platform when:
- You want open firmware but less custom assembly.
- You need a supported PX4 or ArduPilot starting point.
- You want a repeatable airframe for research or application development.
- You can tolerate some integration work.
Choose RTF when:
- You want to fly immediately.
- You prefer one warranty and one support path.
- You operate in a club, school, or small business without an engineering bench.
- You need predictable behavior rather than maximum customization.
Choose a certified industrial platform when:
- The aircraft flies over critical infrastructure, people, cargo, or regulated sites.
- You need documented IP ratings, environmental testing, factory support, or formal compliance.
- Downtime and liability are more expensive than the aircraft.
- You require repeatable fleet management, standardized payloads, and auditable maintenance.
Frequently Asked Questions
Is the drone DIY ecosystem only for racing FPV?
No. Racing and freestyle are the most visible parts, but the DIY ecosystem also includes fixed-wing navigation, PX4 and ArduPilot autonomous aircraft, mapping rovers, marine vehicles, heavy-lift prototypes, research platforms, and custom industrial integrations.
Is DIY always cheaper than buying a ready-to-fly drone?
Not always. DIY analog builds commonly cost USD 180–400, while analog RTF kits commonly cost USD 120–250, so an entry-level RTF can be cheaper before labor is counted (ElectronicsHub, published 2026-08-29; verified 2026-10-15). DIY becomes more cost-effective when you need specialized performance, repairability, or custom payloads.
What is the most important standard in a DIY drone build?
There is no single universal standard, but the most important compatibility layers are:
- Mechanical mounting pattern
- Battery voltage and connector standard
- Firmware target support
- Receiver protocol
- Video-system compatibility
- MAVLink or DroneCAN for autonomous systems
- Propeller and motor thrust matching
Should a beginner start with Betaflight, PX4, or ArduPilot?
For FPV racing and freestyle, start with Betaflight and a small whoop or 5-inch platform. For GPS waypoints, mapping, fixed-wing flight, or professional autonomy, start with PX4 or ArduPilot on a supported developer kit. ArduPilot is especially useful when the project may expand beyond aircraft into rovers, boats, or submarines.
Can a DIY drone be used for commercial industrial inspection?
It depends on local regulation and risk requirements. A technically capable DIY drone may fly inspection missions, but regulated commercial work often requires certified hardware, pilot licensing, documented maintenance, data security, and formal operating approvals. For high-risk or repeatable commercial work, a factory-built industrial platform is usually easier to certify and support than a one-off custom build.
How long does a DIY FPV drone last?
Airframe life depends heavily on crash frequency and maintenance. Motor bearings in budget 5-inch freestyle setups may need service after 40–60 flight hours, while premium motors can reach 120–150 hours; indoor whoop motors may exceed 200 hours in low-stress use (UAVMODEL, published 2026-05-21; verified 2026-10-15).
References and Verification Dates
- Industry Research Co — FPV Drone Market Set to Hit USD 64,695,931.6 Mn by 2035, published 2026-09-07; verified 2026-10-15.
https://www.industryresearch.co/market-reports/fpv-drone-market-305164 - ElectronicsHub — 5.8GHz FPV Drone Guide: How to Choose the Right One in 2026, published 2026-08-29; verified 2026-10-15.
https://electronics.alibaba.com/buyingguides/5.8ghz-fpv-drone-guide-choose-right-for-your-use-case - UAVMODEL Insights — Cinewhoop vs Freestyle vs Long Range: Choosing Your FPV Drone Type, published 2026-06-11; verified 2026-10-15.
https://blog.uavmodel.com/cinewhoop-vs-freestyle-vs-long-range-choosing-your-fpv-drone-type/ - UAVMODEL Insights — FPV Simulator Training: 100 Hours to Competent Pilot Without Breaking Parts, published 2026-06-10; verified 2026-10-15.
https://blog.uavmodel.com/fpv-simulator-training-100-hours-to-competent-pilot-without-breaking-parts/ - ExpressLRS — Signal Health: How Far Can I Go?, official documentation last updated 2026-09-11; verified 2026-10-15.
https://www.expresslrs.org/info/signal-health/?h=osd - UAVMODEL Insights — ELRS 2.4GHz vs 900MHz: Which ExpressLRS Protocol for Your Flying Style?, published 2026-06-27; verified 2026-10-15.
https://blog.uavmodel.com/elrs-2-4ghz-vs-900mhz-which-expresslrs-protocol-for-your-flying-style/ - UAVMODEL Insights — FPV Drone Motor Bearing Maintenance: Replacement, Lubrication, and Failure Warning Signs — 2026 Guide, published 2026-05-21; verified 2026-10-15.
https://blog.uavmodel.com/fpv-drone-motor-bearing-maintenance-replacement-lubrication-and-failure-warning-signs-2026-guide/ - FPV Drone Guide — Best FPV Simulators 2026: Liftoff vs Velocidrone, published 2026-10-03; verified 2026-10-15.
https://fpvdroneguide.com/blog/best-fpv-simulators-2026 - PX4 Autopilot Documentation — PX4 Guide: Open-source, vendor-neutral autopilot, last updated 2026-09-22; verified 2026-10-15.
https://docs.px4.io/main/ - PX4 Developer Kits — Holybro X500 v2 development kit specification, updated 2026-07-21; verified 2026-10-15.
https://docs.px4.io/main/zh/dev_kits/index - ArduPilot — Versatile, Trusted, Open Autopilot System, official documentation updated 2026-10-14; verified 2026-10-15.
https://ardupilot.org/ - The FPV Project — MicoAir F405 V2 Stack mounting and compatibility specification, updated 2026-09-16; verified 2026-10-15.
https://thefpvproject.com/product/micoair-f405-v2-stack-50a-bluejay-esc/